Docker 搭建饥荒联机独立服务器
前言
此版本搭建仅限于有搭建经验的朋友一个简版的搭建方案,不提供小白方案的讲解。
注意:阅读本篇博文默认你对docker指令有了解。
内容
- 首先从git上拉起初始环境
git clone https://git.chihiro.org.cn/GitHub/docker-dst-customize.git
- 进入文件夹
cd docker-dst-customize
- 文件夹内容
├── MyDediServer    ## 配置地上世界和洞穴以及一些必要的配置
│   ├── Caves     ## 洞穴配置
│   │   ├── modoverrides.lua  ## mod参数配置
│   │   ├── server.ini   ## 洞穴独立配置文件
│   │   ├── server_chat_log.txt  ## 聊天日志
│   │   ├── server_log.txt  ## 系统日志
│   │   └── worldgenoverride.lua  ##世界地图配置
│   ├── Master  ## 地上世界配置
│   │   ├── modoverrides.lua  ## mod参数配置
│   │   ├── server.ini   ## 洞穴独立配置文件
│   │   ├── server_chat_log.txt  ## 聊天日志
│   │   ├── server_log.txt  ## 系统日志
│   │   └── worldgenoverride.lua  ##世界地图配置
│   ├── admin.txt  ## 管理员名单
│   ├── blocklist.txt   ## 黑名单
│   ├── cluster.ini   ## 通用配置文件
│   ├── cluster_token.txt  ## token
│   └── whitelist.txt  ## 白名单
├── mods   ## mod配置
│   └── dedicated_server_mods_setup.lua   ## 保存服务器所用到的mod
-
文件介绍
下列
ip与端口,除非你知道你在做什么,否则请不要随意修改-
cluster.ini通用配置文件[MISC] max_snapshots = 6 # 最大快照数,决定了可回滚的天数 console_enabled = true # 是否开启控制台 [SHARD] shard_enabled = true # 服务器共享,要开启洞穴服务器的必须启用 bind_ip = 127.0.0.1 # 如果shard_enabled = true,并且is_master = true,则生效。多个shard都在一个Cluster下面,这里写默认值是127.0.0.1,如果你的shard分布多于一台物理服务器,需要设置为0.0.0.0。且如果每个shard都可以通过server.ini单独设置并且覆盖cluster.ini的设置 master_ip = 127.0.0.1 # 如果所有的shard都在同一台物理服务器上,写默认值127.0.0.1。如果不是这种情况,则填写非master shard所在的物理服务器的IP地址。 master_port = 10888 # 默认值10888。主服务器监听的UDP端口,方便其他shared接入。该值可以被Master shard目录下的server.ini覆盖。如果有其它的shard接入,每个shard/server.ini下的该值都必须不同,方可通信 cluster_key = dst # 密钥,防止其他人链接到你的Cluster服务器,每台服务器必须相同,会被 server.ini 覆盖 [STEAM] steam_group_only = false # 只允许某 Steam 组的成员加入 steam_group_id = 0 # 指定某个 Steam 组,填写组 ID steam_group_admins = false # 开启后,Steam 组的管理员拥有服务器的管理权限 [NETWORK] offline_server = false # 离线服务器,只有局域网用户能加入,并且所有依赖于 Steam 的任何功能都无效,比如说饰品掉落 tick_rate = 15 # 服务器和玩家的交互次数,15、30、60,默认15,如果服务器很牛逼,可以用60,增加游戏平滑体验 whitelist_slots = 0 # 为白名单用户保留的游戏位 cluster_password = # 游戏密码,不设置表示无密码 cluster_name = ttionya test # 游戏房间名称 cluster_description = description # 游戏房间描述 lan_only_cluster = false # 局域网游戏 cluster_intention = madness # 游戏偏好,可选 cooperative, competitive, social, or madness,随便设置,没卵用 autosaver_enabled = true # 自动保存 [GAMEPLAY] max_players = 16 # 最大玩家数量,你写200也没事,个人经验5M带宽2核CPU最多支持15-16个玩家,再多就开始卡得厉害 pvp = true # 能不能攻击其他玩家,能不能给其他玩家喂屎 game_mode = survival # 游戏模式,可选 survival, endless or wilderness,与玩家死亡后的负面影响有关 pause_when_empty = false # 没人服务器暂停,刷天数必备 vote_kick_enabled = false # 投票踢人 -
server.ini独立配置文件[SHARD] is_master = true /false # 是否是 master 服务器,只能存在一个 true,其他全是 false name = caves # 针对非 master 服务器的名称 id = ??? # 随机生成,不用加入该属性 [STEAM] authentication_port = 8766 # Steam 用的端口,确保每个实例都不相同 master_server_port = 27016 # Steam 用的端口,确保每个实例都不相同 [NETWORK] server_port = 10999 # 监听的 UDP 端口,只能介于 10998 - 11018 之间,确保每个实例都不相同 -
dedicated_server_mods_setup.lua配置 Mod 文件(建议)--There are two functions that will install mods, ServerModSetup and ServerModCollectionSetup. Put the calls to the functions in this file and they will be executed on boot. --ServerModSetup takes a string of a specific mod's Workshop id. It will download and install the mod to your mod directory on boot. --The Workshop id can be found at the end of the url to the mod's Workshop page. --Example: http://steamcommunity.com/sharedfiles/filedetails/?id=350811795 --ServerModSetup("350811795") --ServerModCollectionSetup takes a string of a specific mod's Workshop id. It will download all the mods in the collection and install them to the mod directory on boot. --The Workshop id can be found at the end of the url to the collection's Workshop page. --Example: http://steamcommunity.com/sharedfiles/filedetails/?id=379114180 --ServerModCollectionSetup("379114180") ## 以下是模版,根据需要替换“”之内的内容 ServerModSetup("workshop-1301033176") ServerModSetup("workshop-378160973") ServerModSetup("workshop-458587300") ServerModSetup("workshop-666155465") ServerModSetup("workshop-934638020") -
modoverrides.lua注意,这个文件最好不要手写,可以在本地新建一个服务器,然后将服务器内生成的配置复制到这个文件里面。
## 本地创建饥荒服务器生成后,复制粘贴即可
return {
  ["workshop-1301033176"]={ configuration_options={ LANG="auto" }, enabled=true },
  ["workshop-378160973"]={
    configuration_options={
      ENABLEPINGS=true,
      FIREOPTIONS=2,
      OVERRIDEMODE=false,
      SHAREMINIMAPPROGRESS=true,
      SHOWFIREICONS=true,
      SHOWPLAYERICONS=true,
      SHOWPLAYERSOPTIONS=2
    },
    enabled=true
  },
  ["workshop-458587300"]={ configuration_options={ Ownership=false, Travel_Cost=32 }, enabled=true },
  ["workshop-666155465"]={
    configuration_options={
      chestB=-1,
      chestG=-1,
      chestR=-1,
      food_estimation=-1,
      food_order=0,
      food_style=0,
      lang="auto",
      show_food_units=-1,
      show_uses=-1
    },
    enabled=true
  },
  ["workshop-934638020"]={ configuration_options={  }, enabled=true }
}
-
-
在
docker-dst-customize文件夹根目录下执行vim docker-compose.yaml
version: '3'

services:
  dst:
    image: registry.cn-shenzhen.aliyuncs.com/huhaiqiang/dst-server:1.0.0
    container_name: dst-server
    restart: always
    ports:
      - 10889:10889/udp
      - 10998:10998/udp
      - 10999:10999/udp
    volumes:
      - ./MyDediServer:/root/.klei/DoNotStarveTogether/Cluster_1
      - ./mods:/root/DST/mods
- 启动服务器
docker-compose up -d
- 查看日志
docker logs -t -f --tail 10 dst-server
- 查看服务器启动状态
进入网站:Don't Starve Together Server List
-
开启端口
10889、10998、10999 -
搜索你的服务器名称
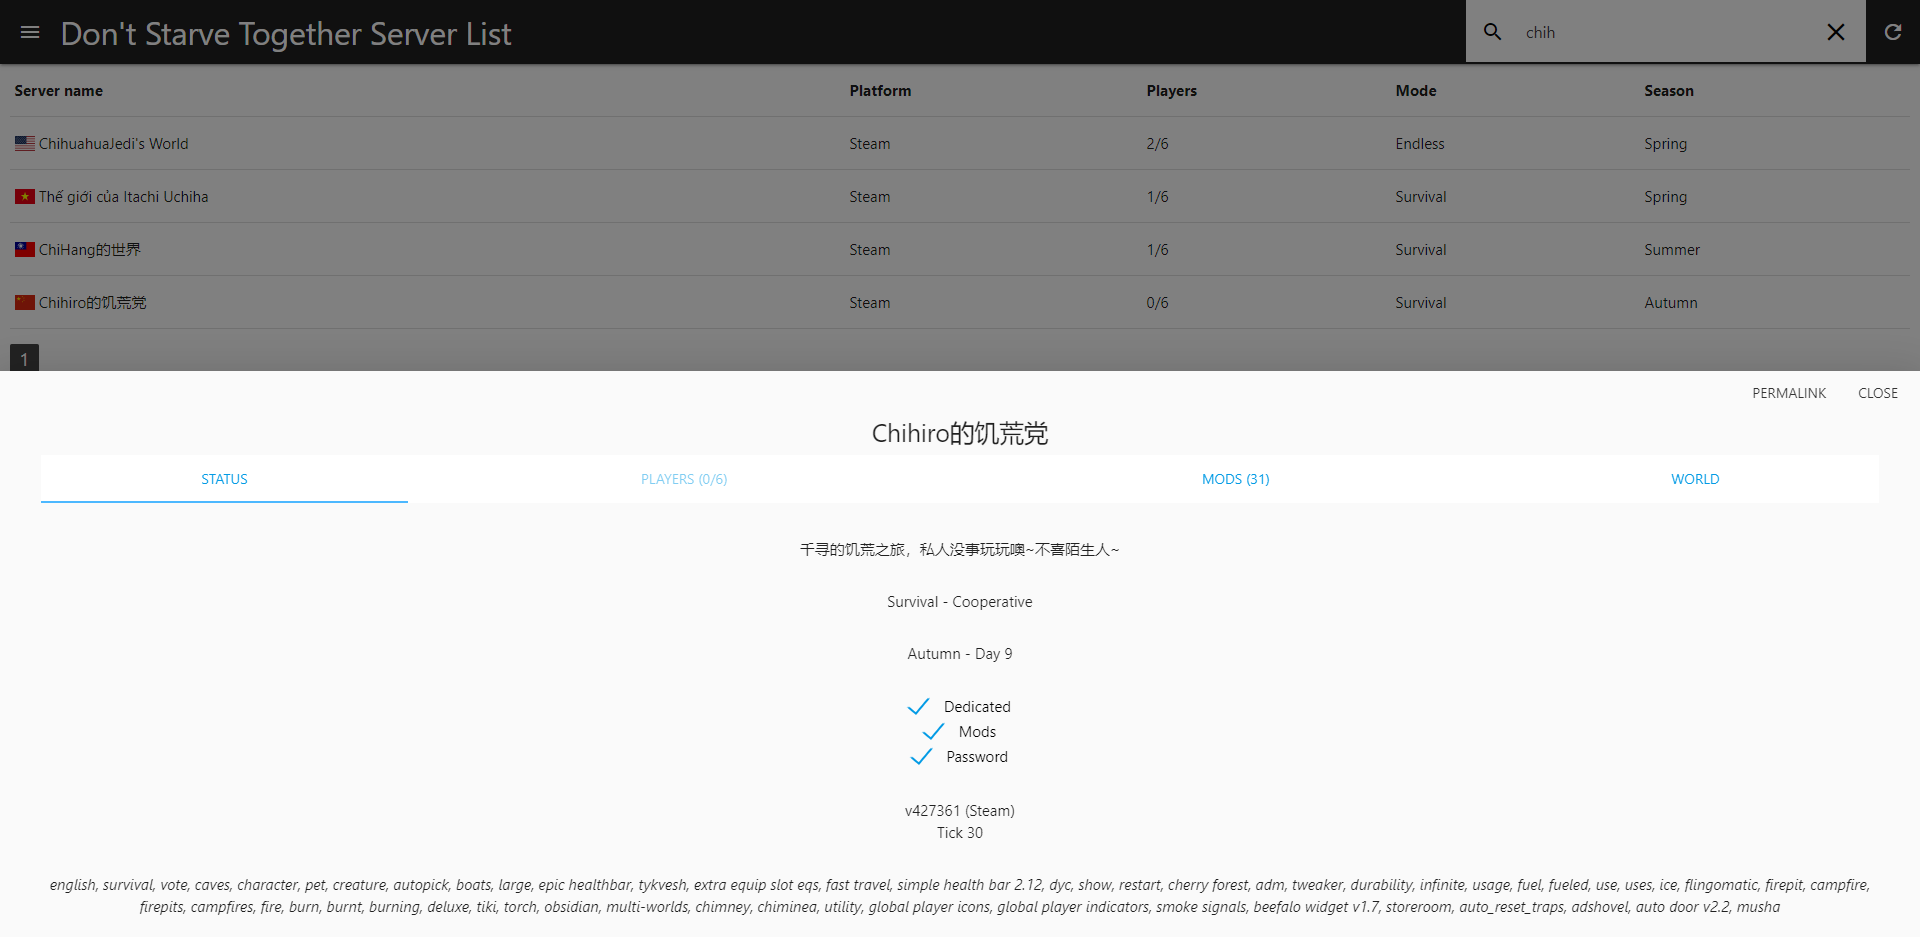
enjoy~
后记
本篇博文仅自己搭建时作笔记用,理论上可在任何docker环境下执行。如遇特殊问题,请提工单或发邮件给博主。